The Cleaning Process
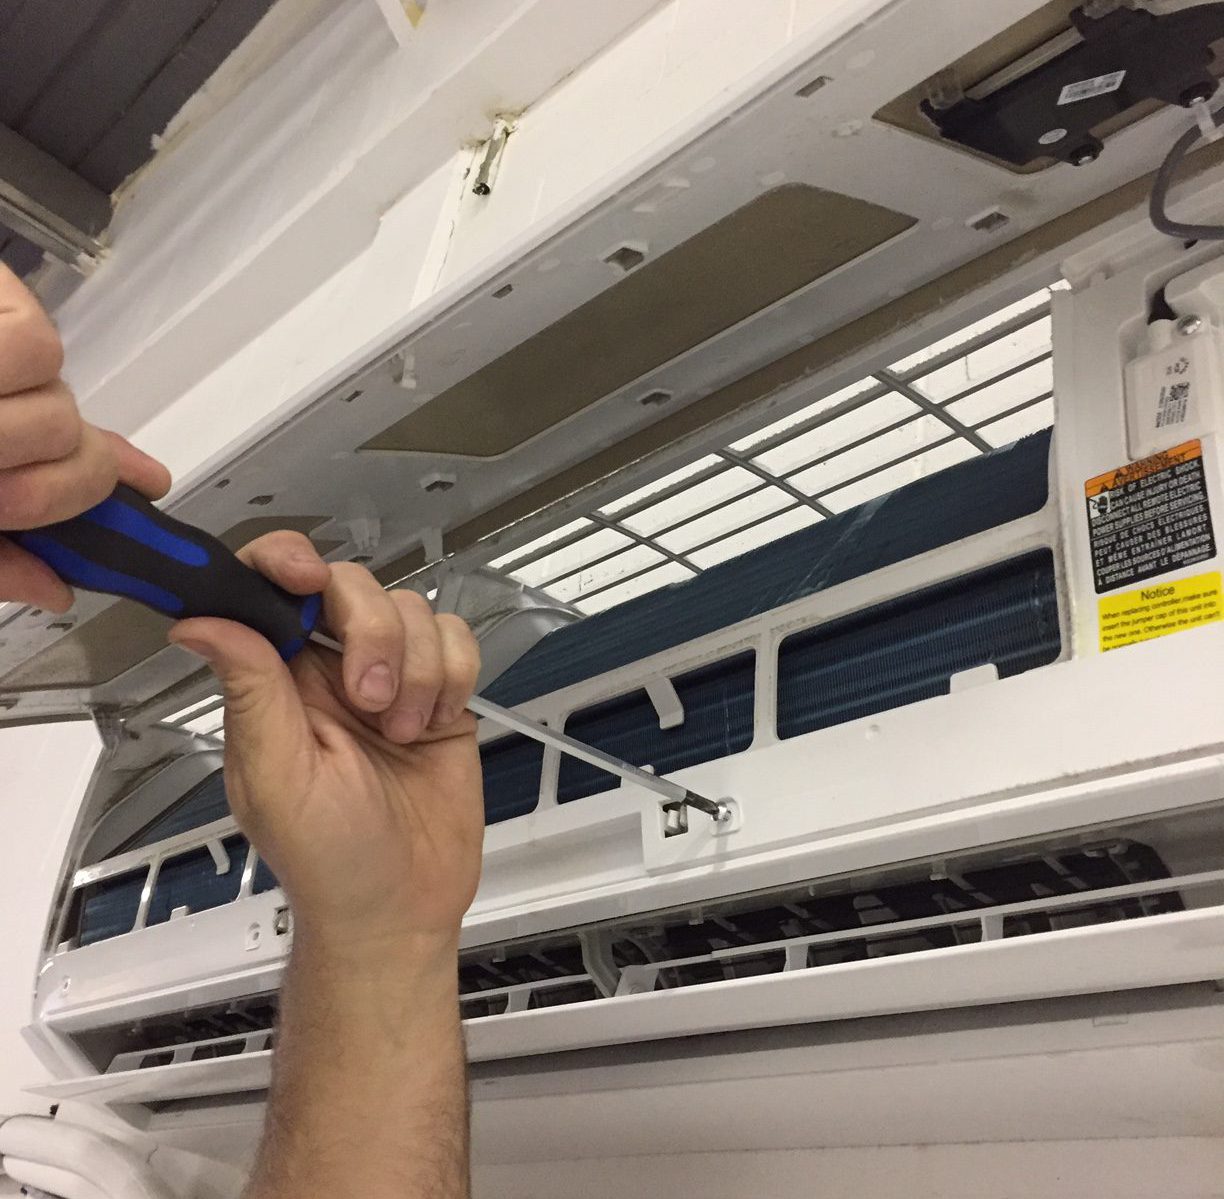
Step 1.
Open front and remove filters. Remove screws and take off the faceplate.
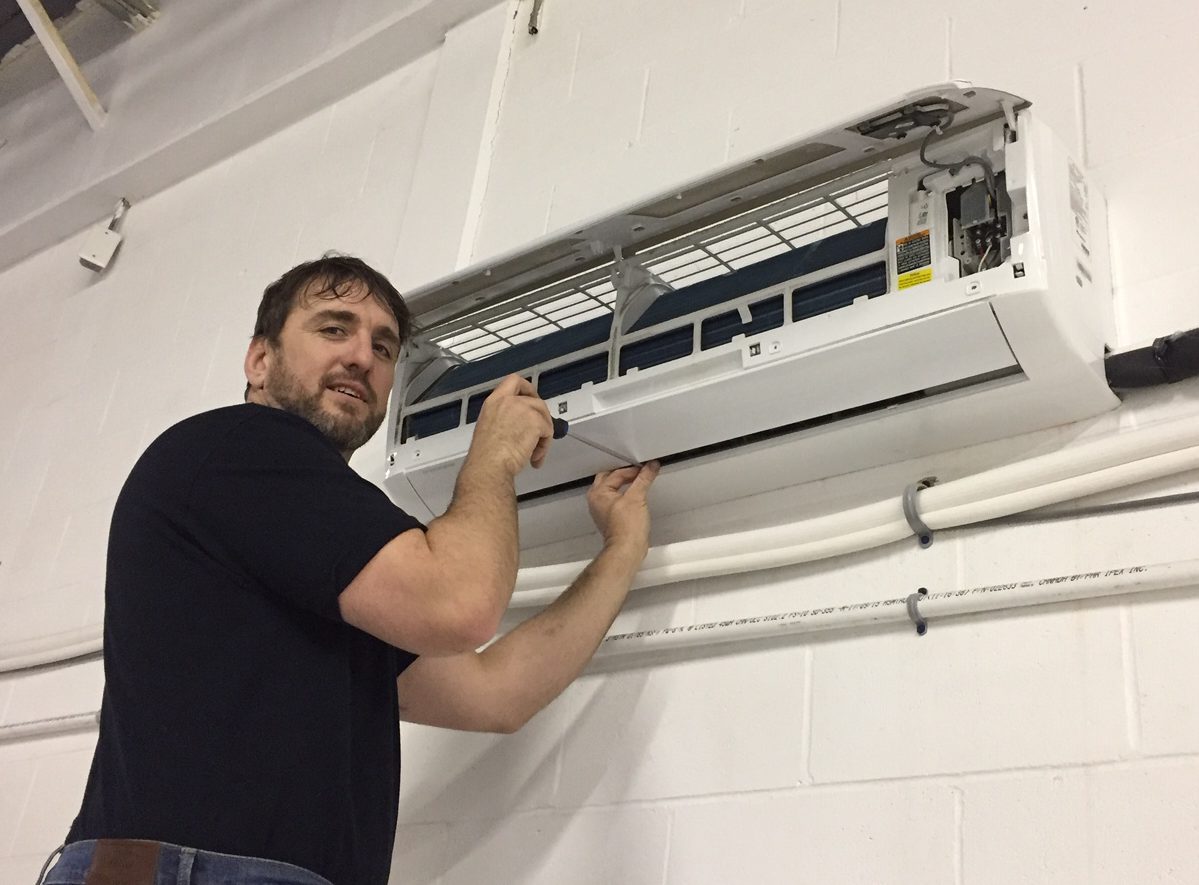
Step 2.
Remove the face plate and use plastic to protect the electronics.
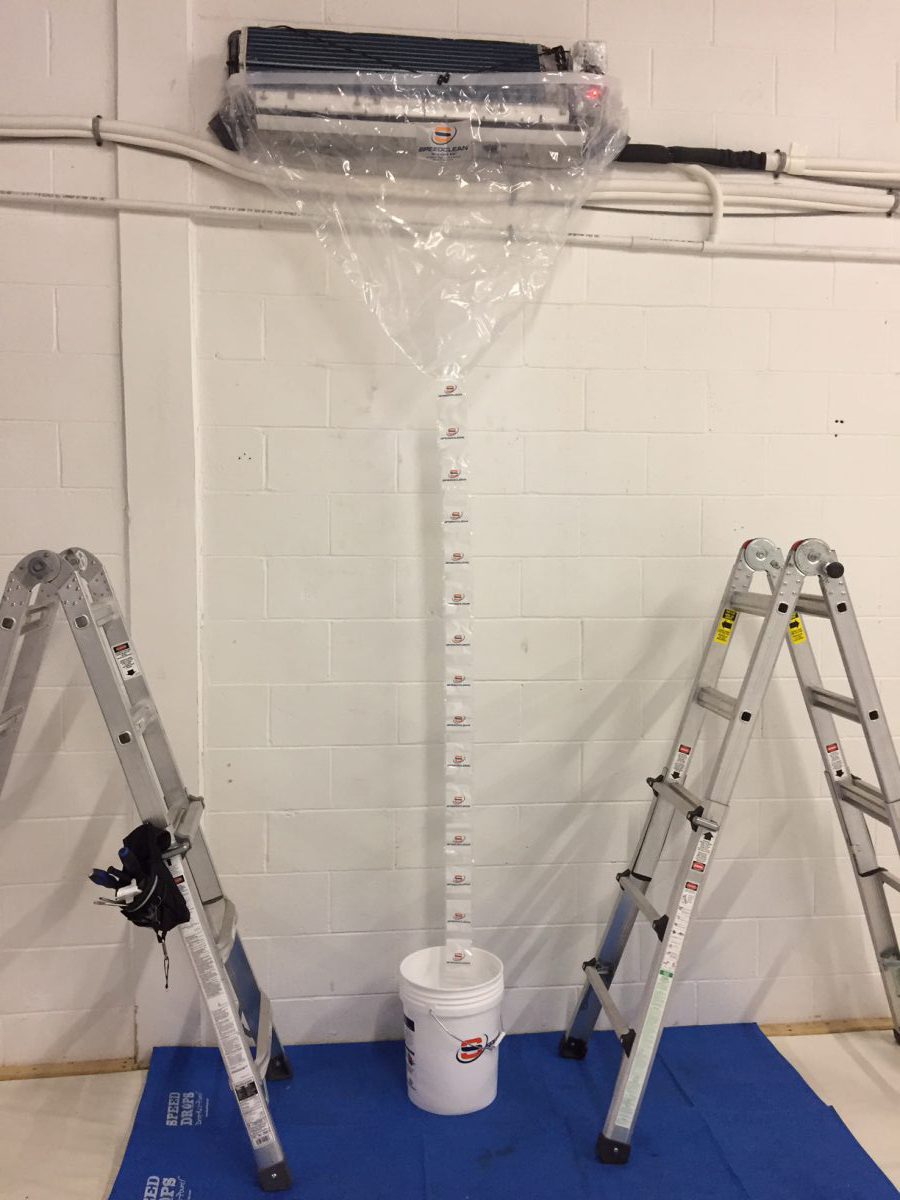
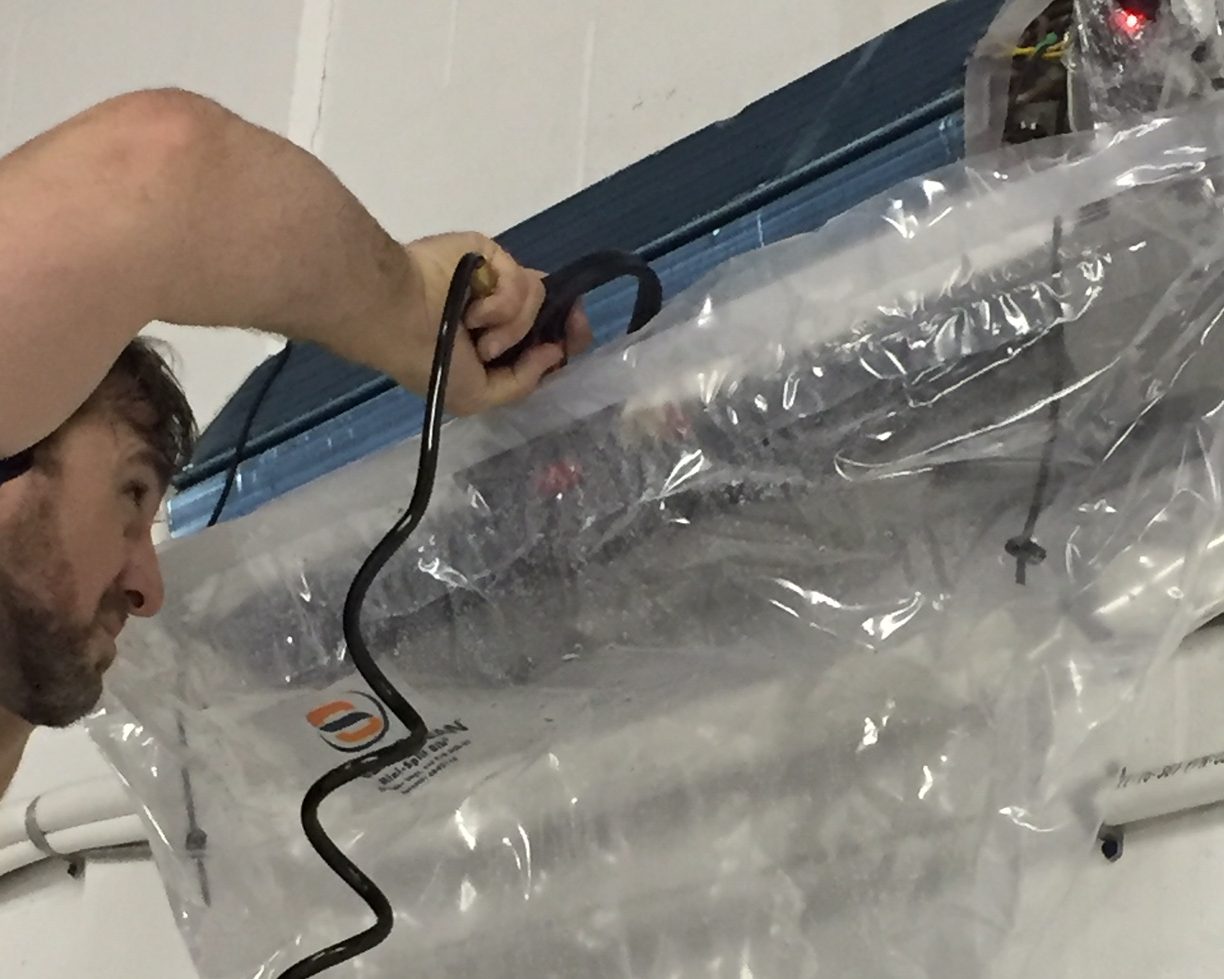
Step 3.
We then attach the mini split bib and place funnel into bucket.
Step 4.
Then apply pre treatment to coils before a environmentally friendly pressure washing fluid is applied. This pressurized nozzle and pump removes the dirt grim and mild build up.
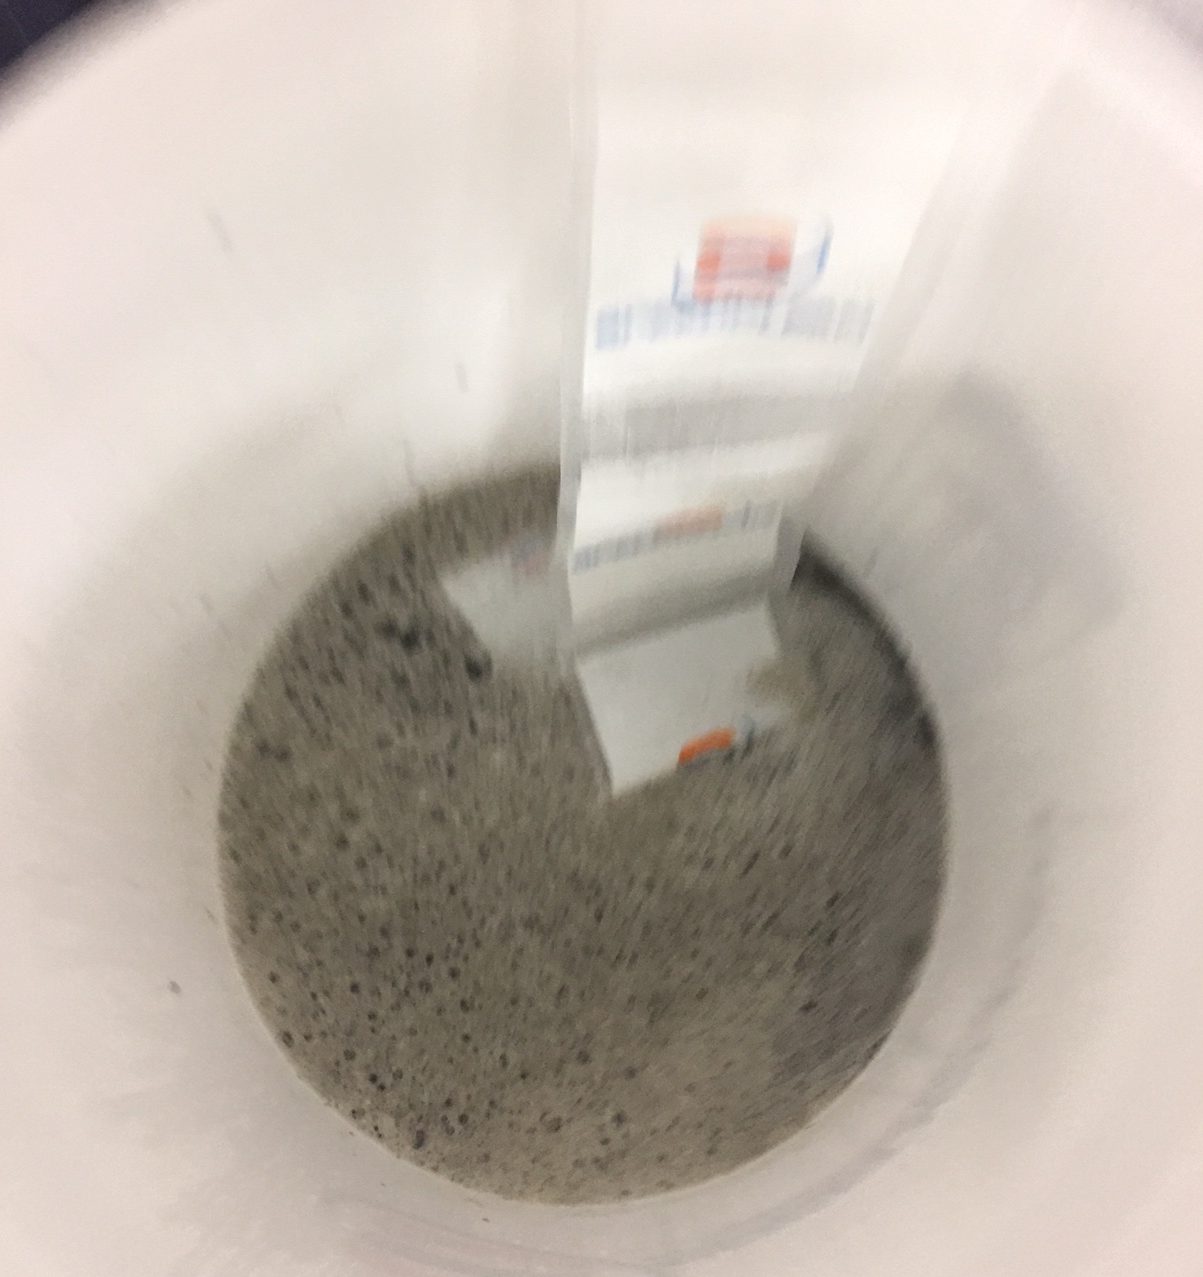
Spoiled water is drained into bucket and removed.
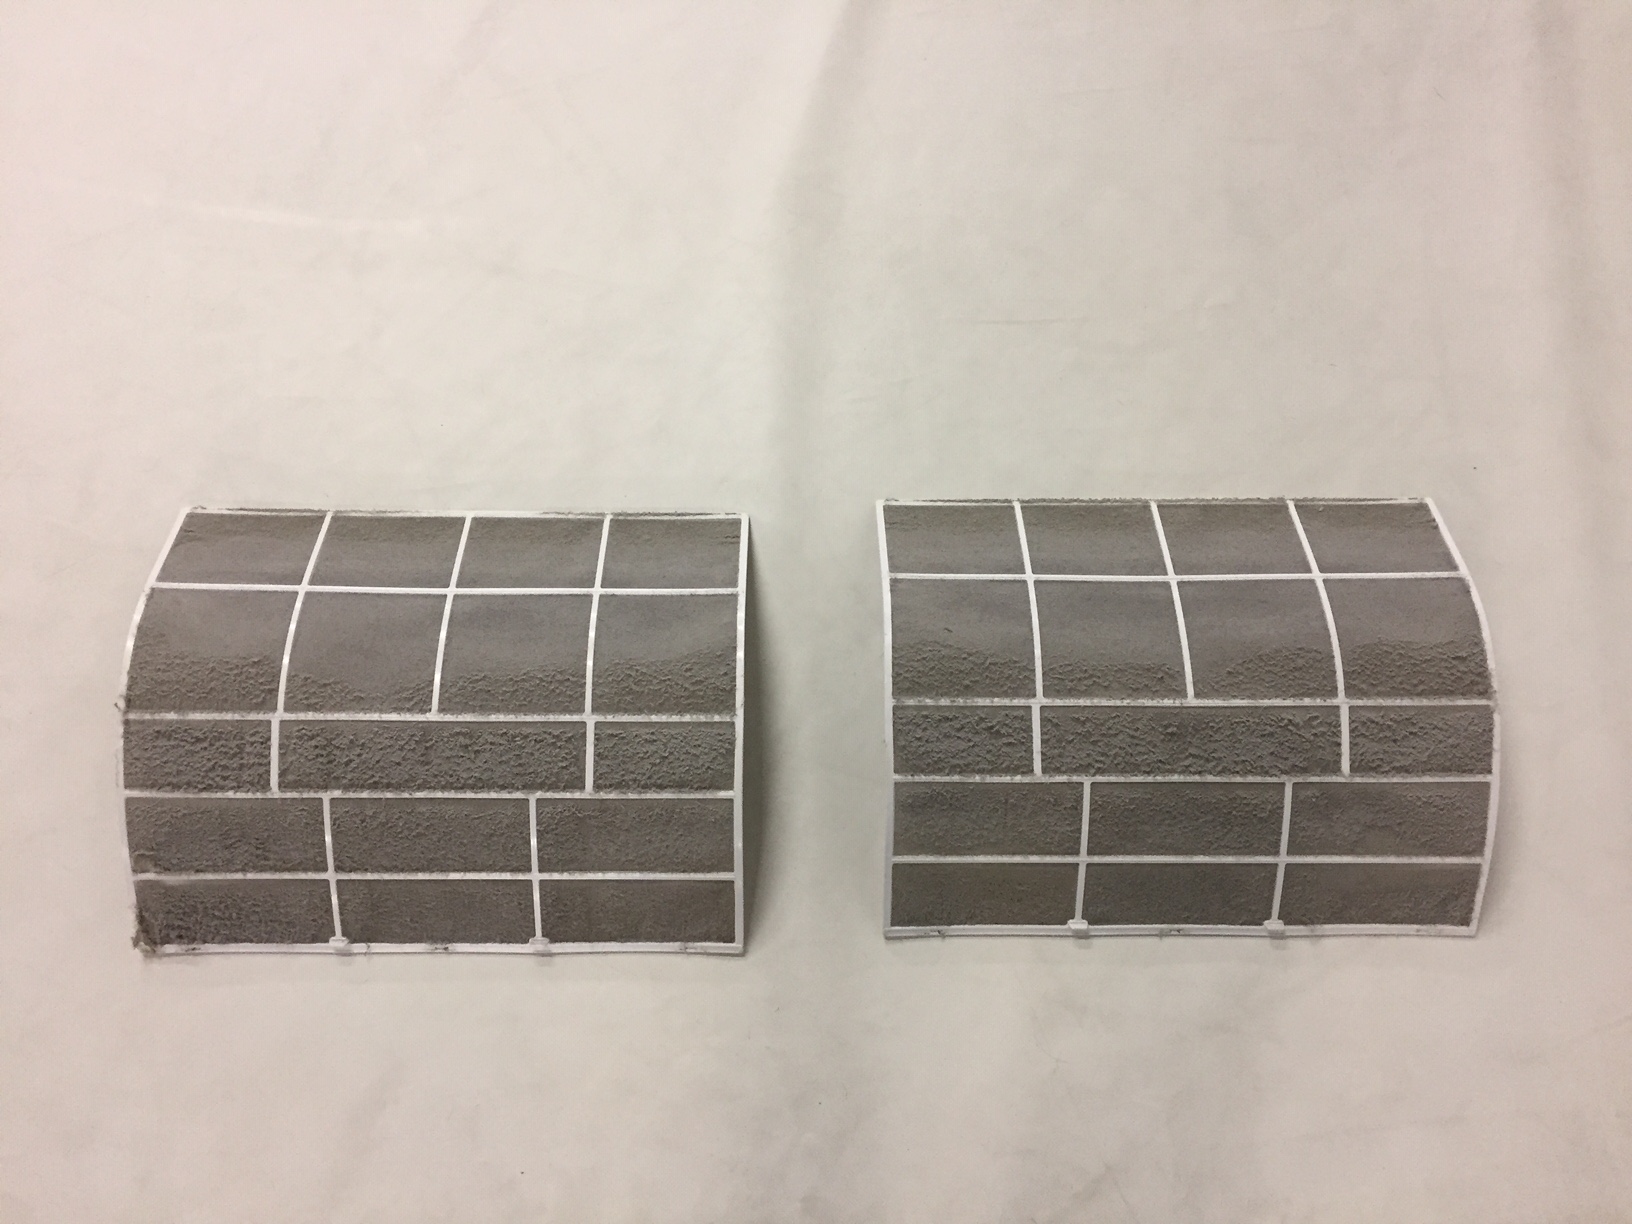
Step 5.
Clean filters.
Step 6.
Face plate replaced. First immediate difference to be noticed is the increased air flow and freshness.
Enjoy your heat pump!